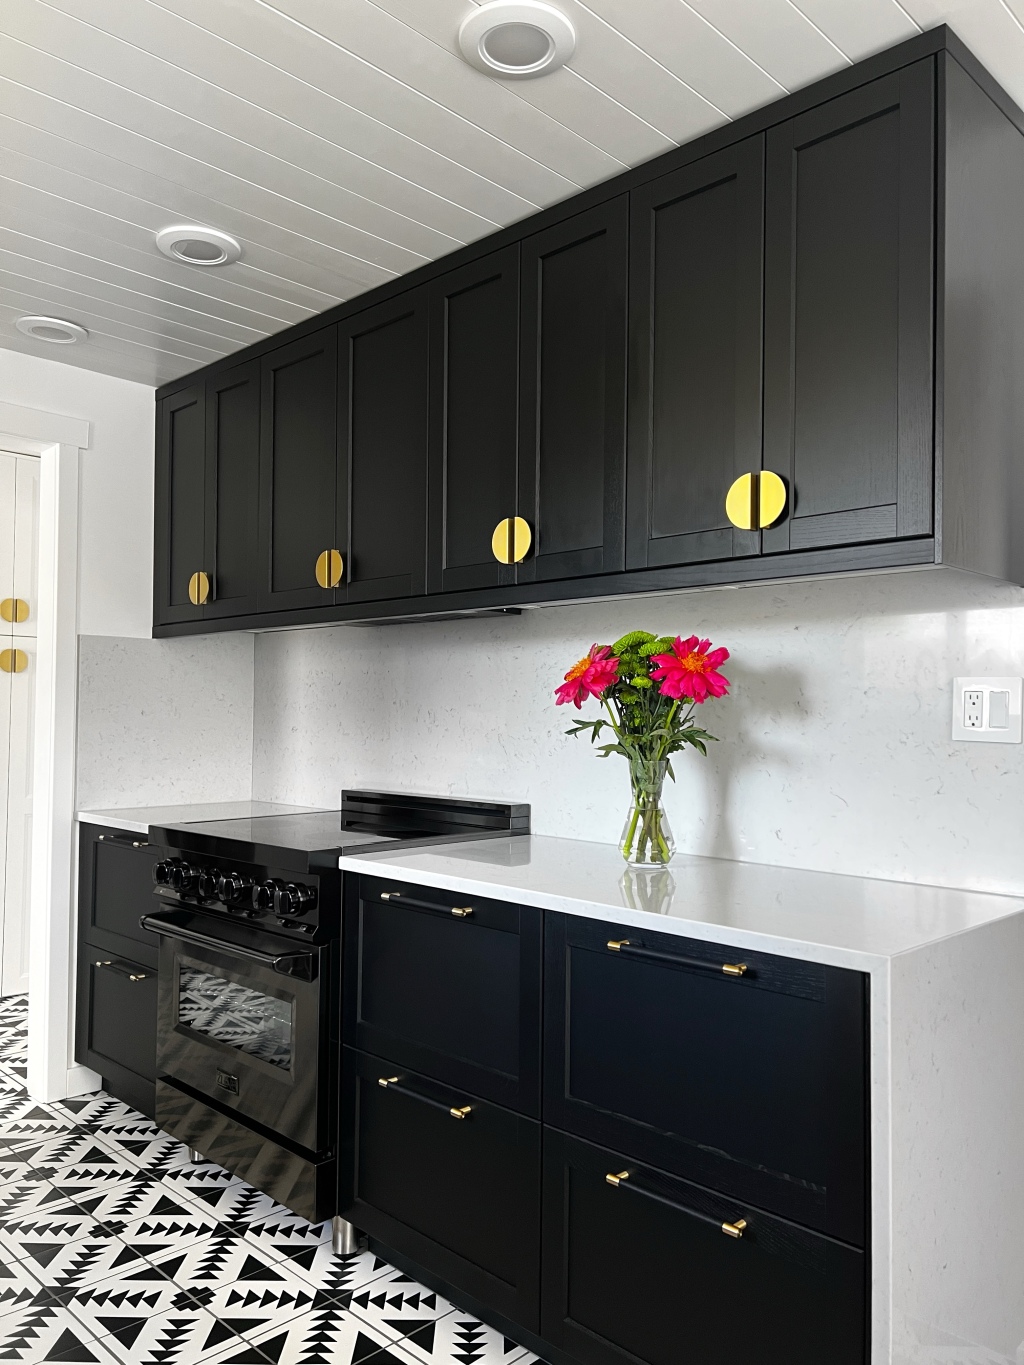
The reveal is the best part so I’m not even going to tell you the details until the end of the post. Introducing, my new kitchen featuring IKEA cabinets, black and white graphic tile floors, gold hardware, and a built-in breakfast bench. My kitchen remodel was budget friendly, an approachable aesthetic, and a fresh update to our little family bungalow.


Considerations and requirements
- Budget and timeline
- Kitchen work triangle
- No moving walls, windows or plumbing
- Add storage
Sources and services
- Cabinets: IKEA LERHYTTAN (Black) & AXSTAD (White)
- Cabinet install: ROCC Solid Installations
- Floor: Floor & Décor Evoke Deco Porcelain Tile
- Countertop/Backsplash: Bianco Carrera Quartz from Pius Kitchen & Bath Seattle
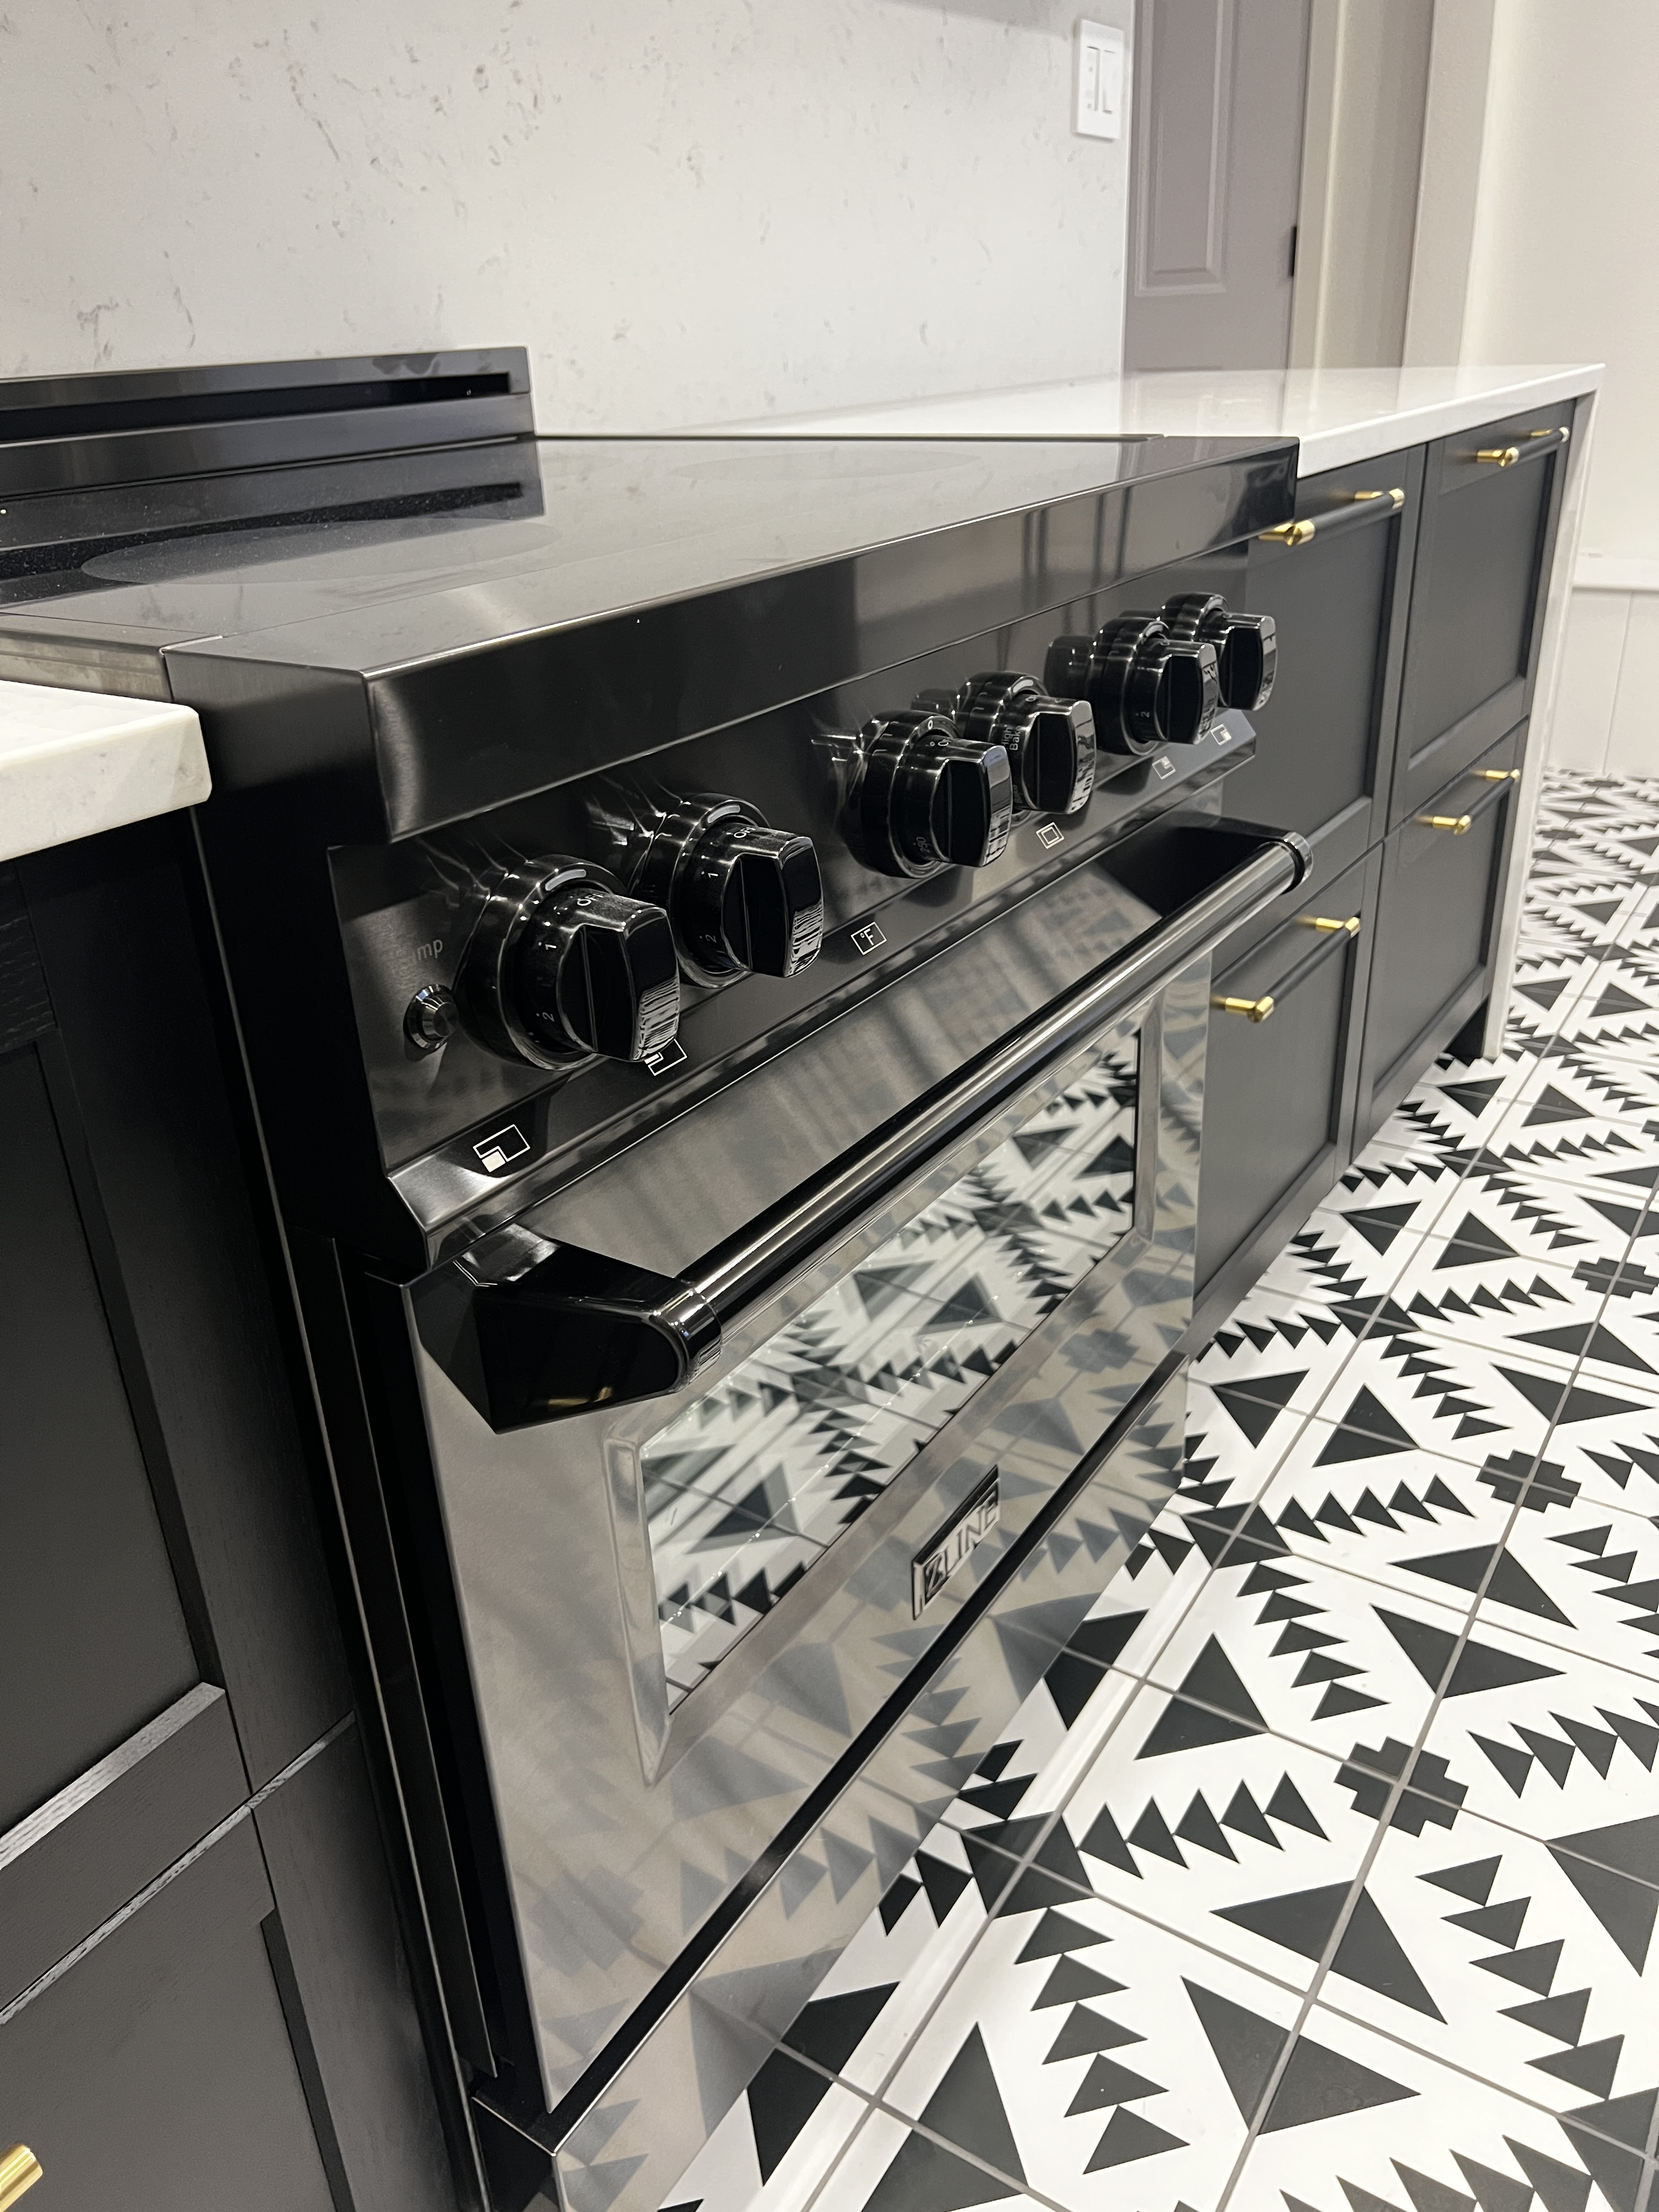
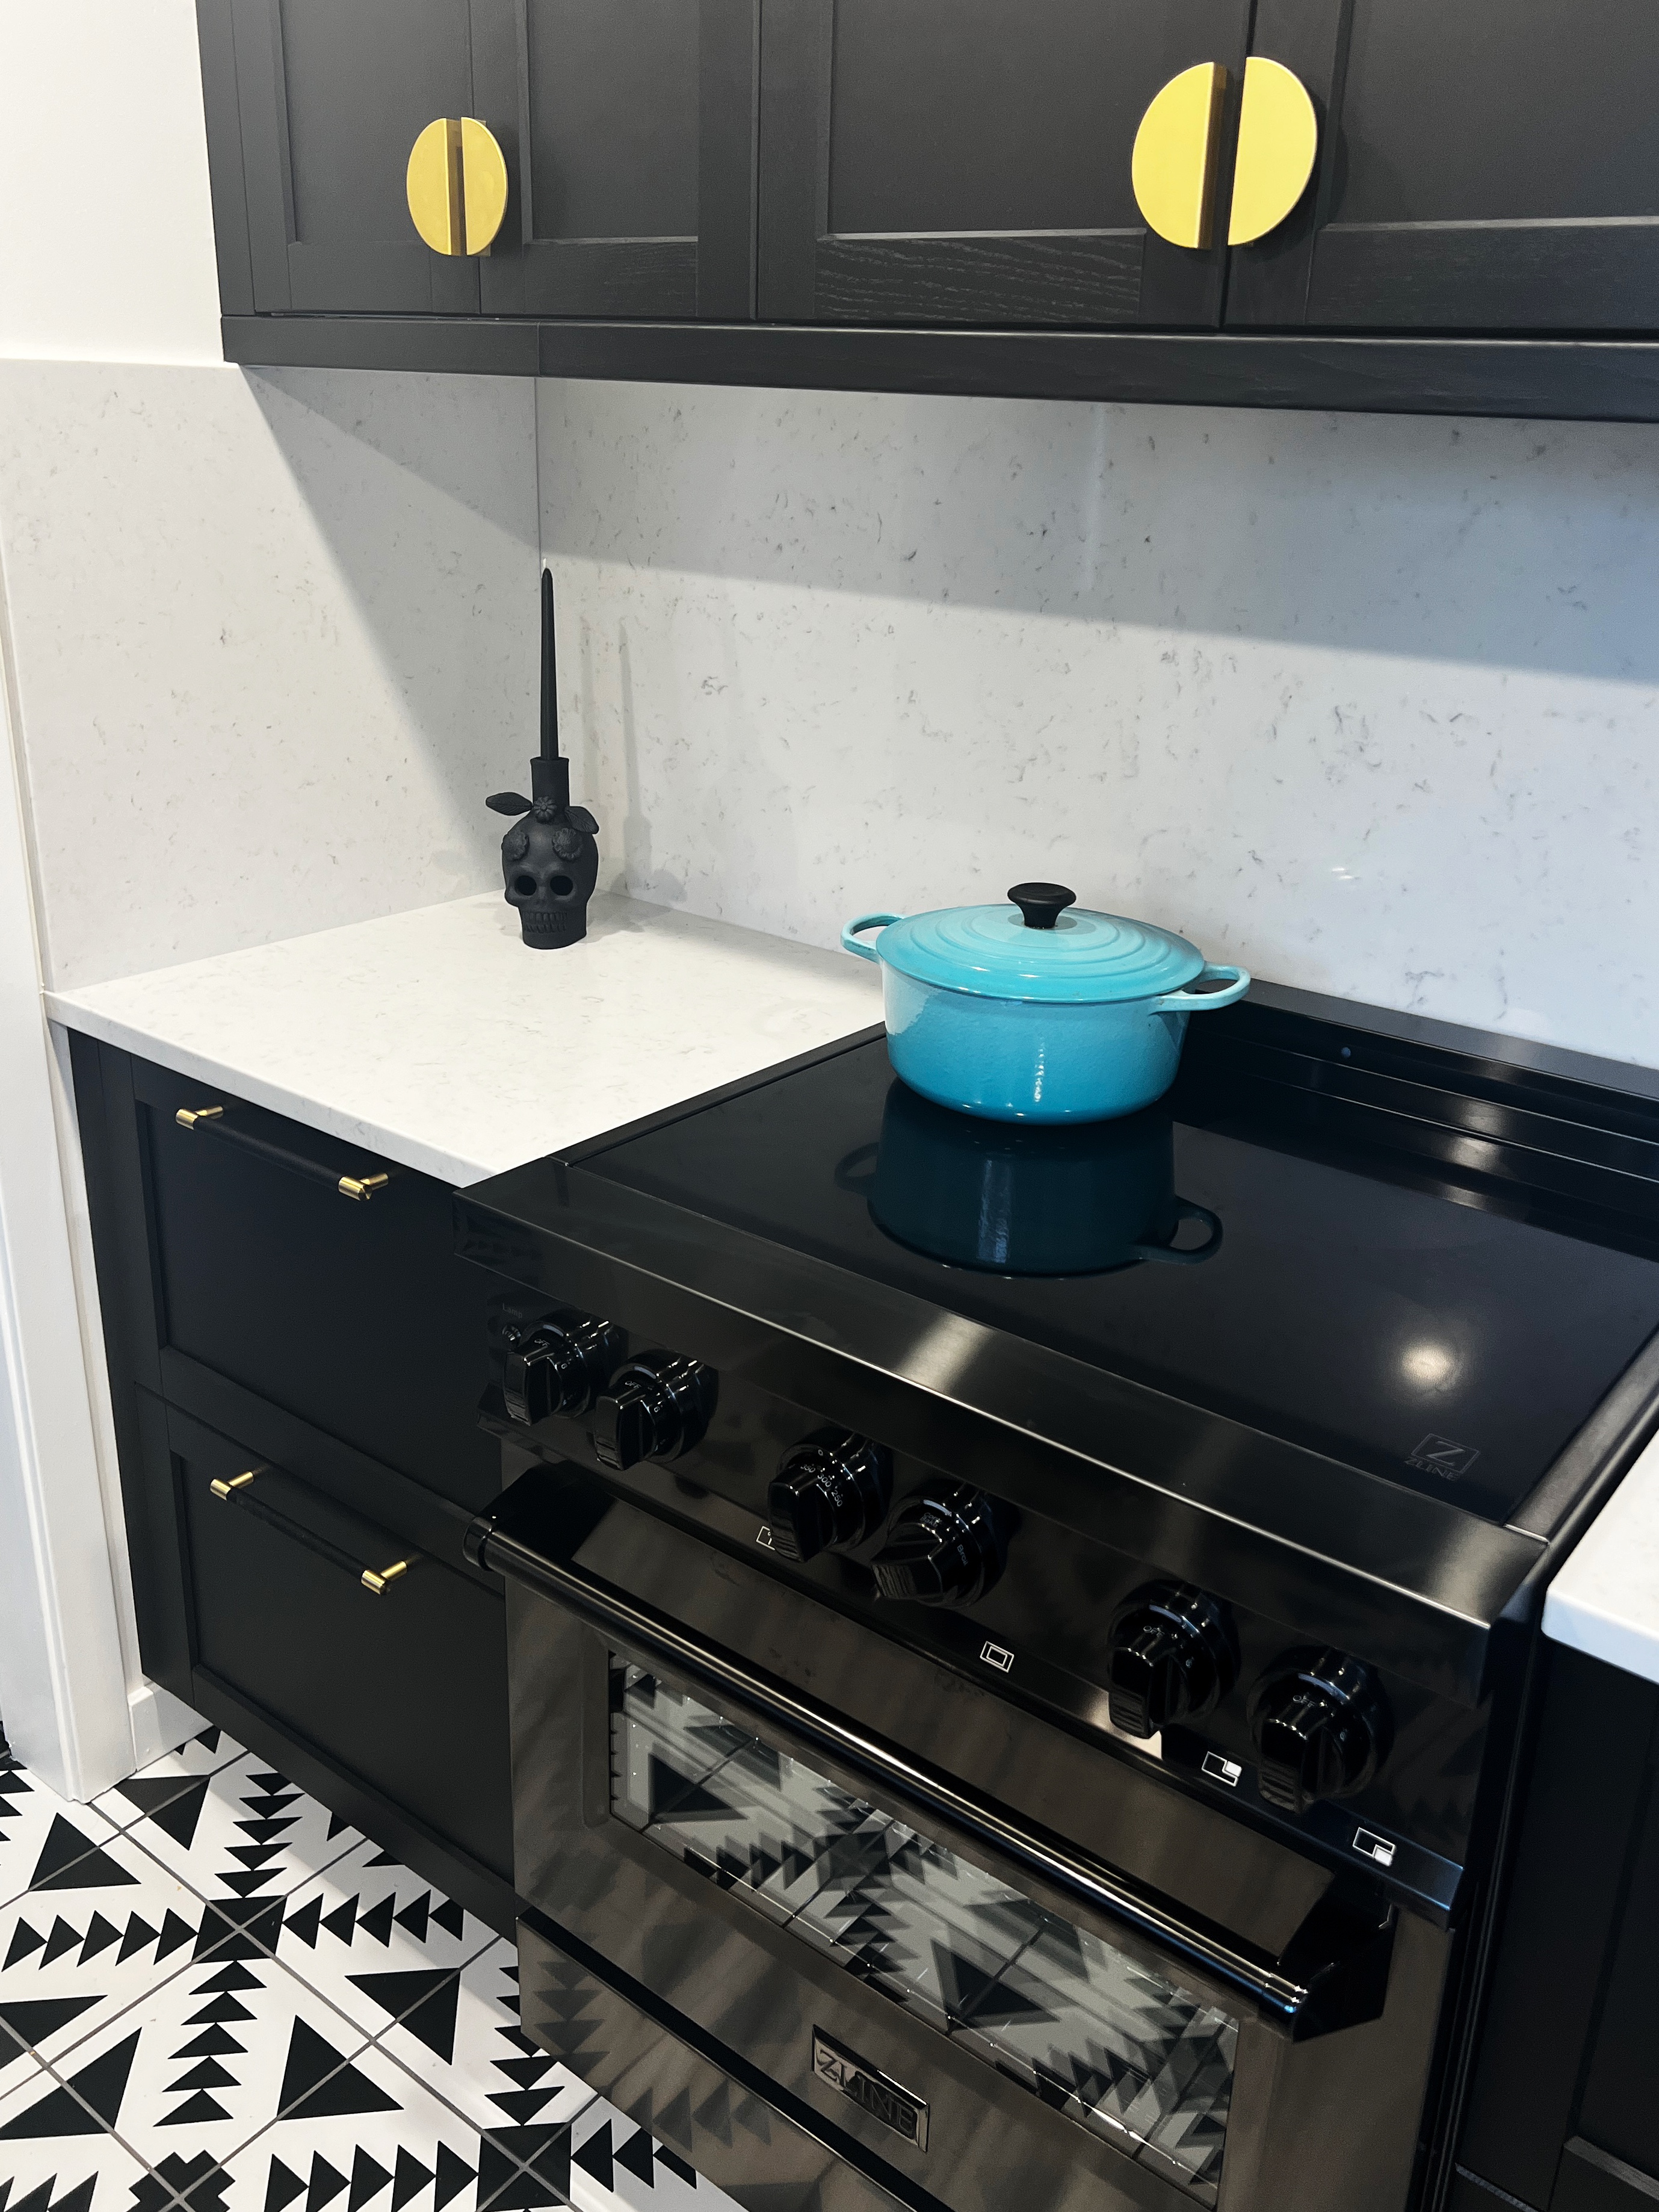
- Stove: ZLINE Black Stainless Steel 30” Induction Stove
- Sink: 28″ Undermount Black Stainless Steel Work Station Sink
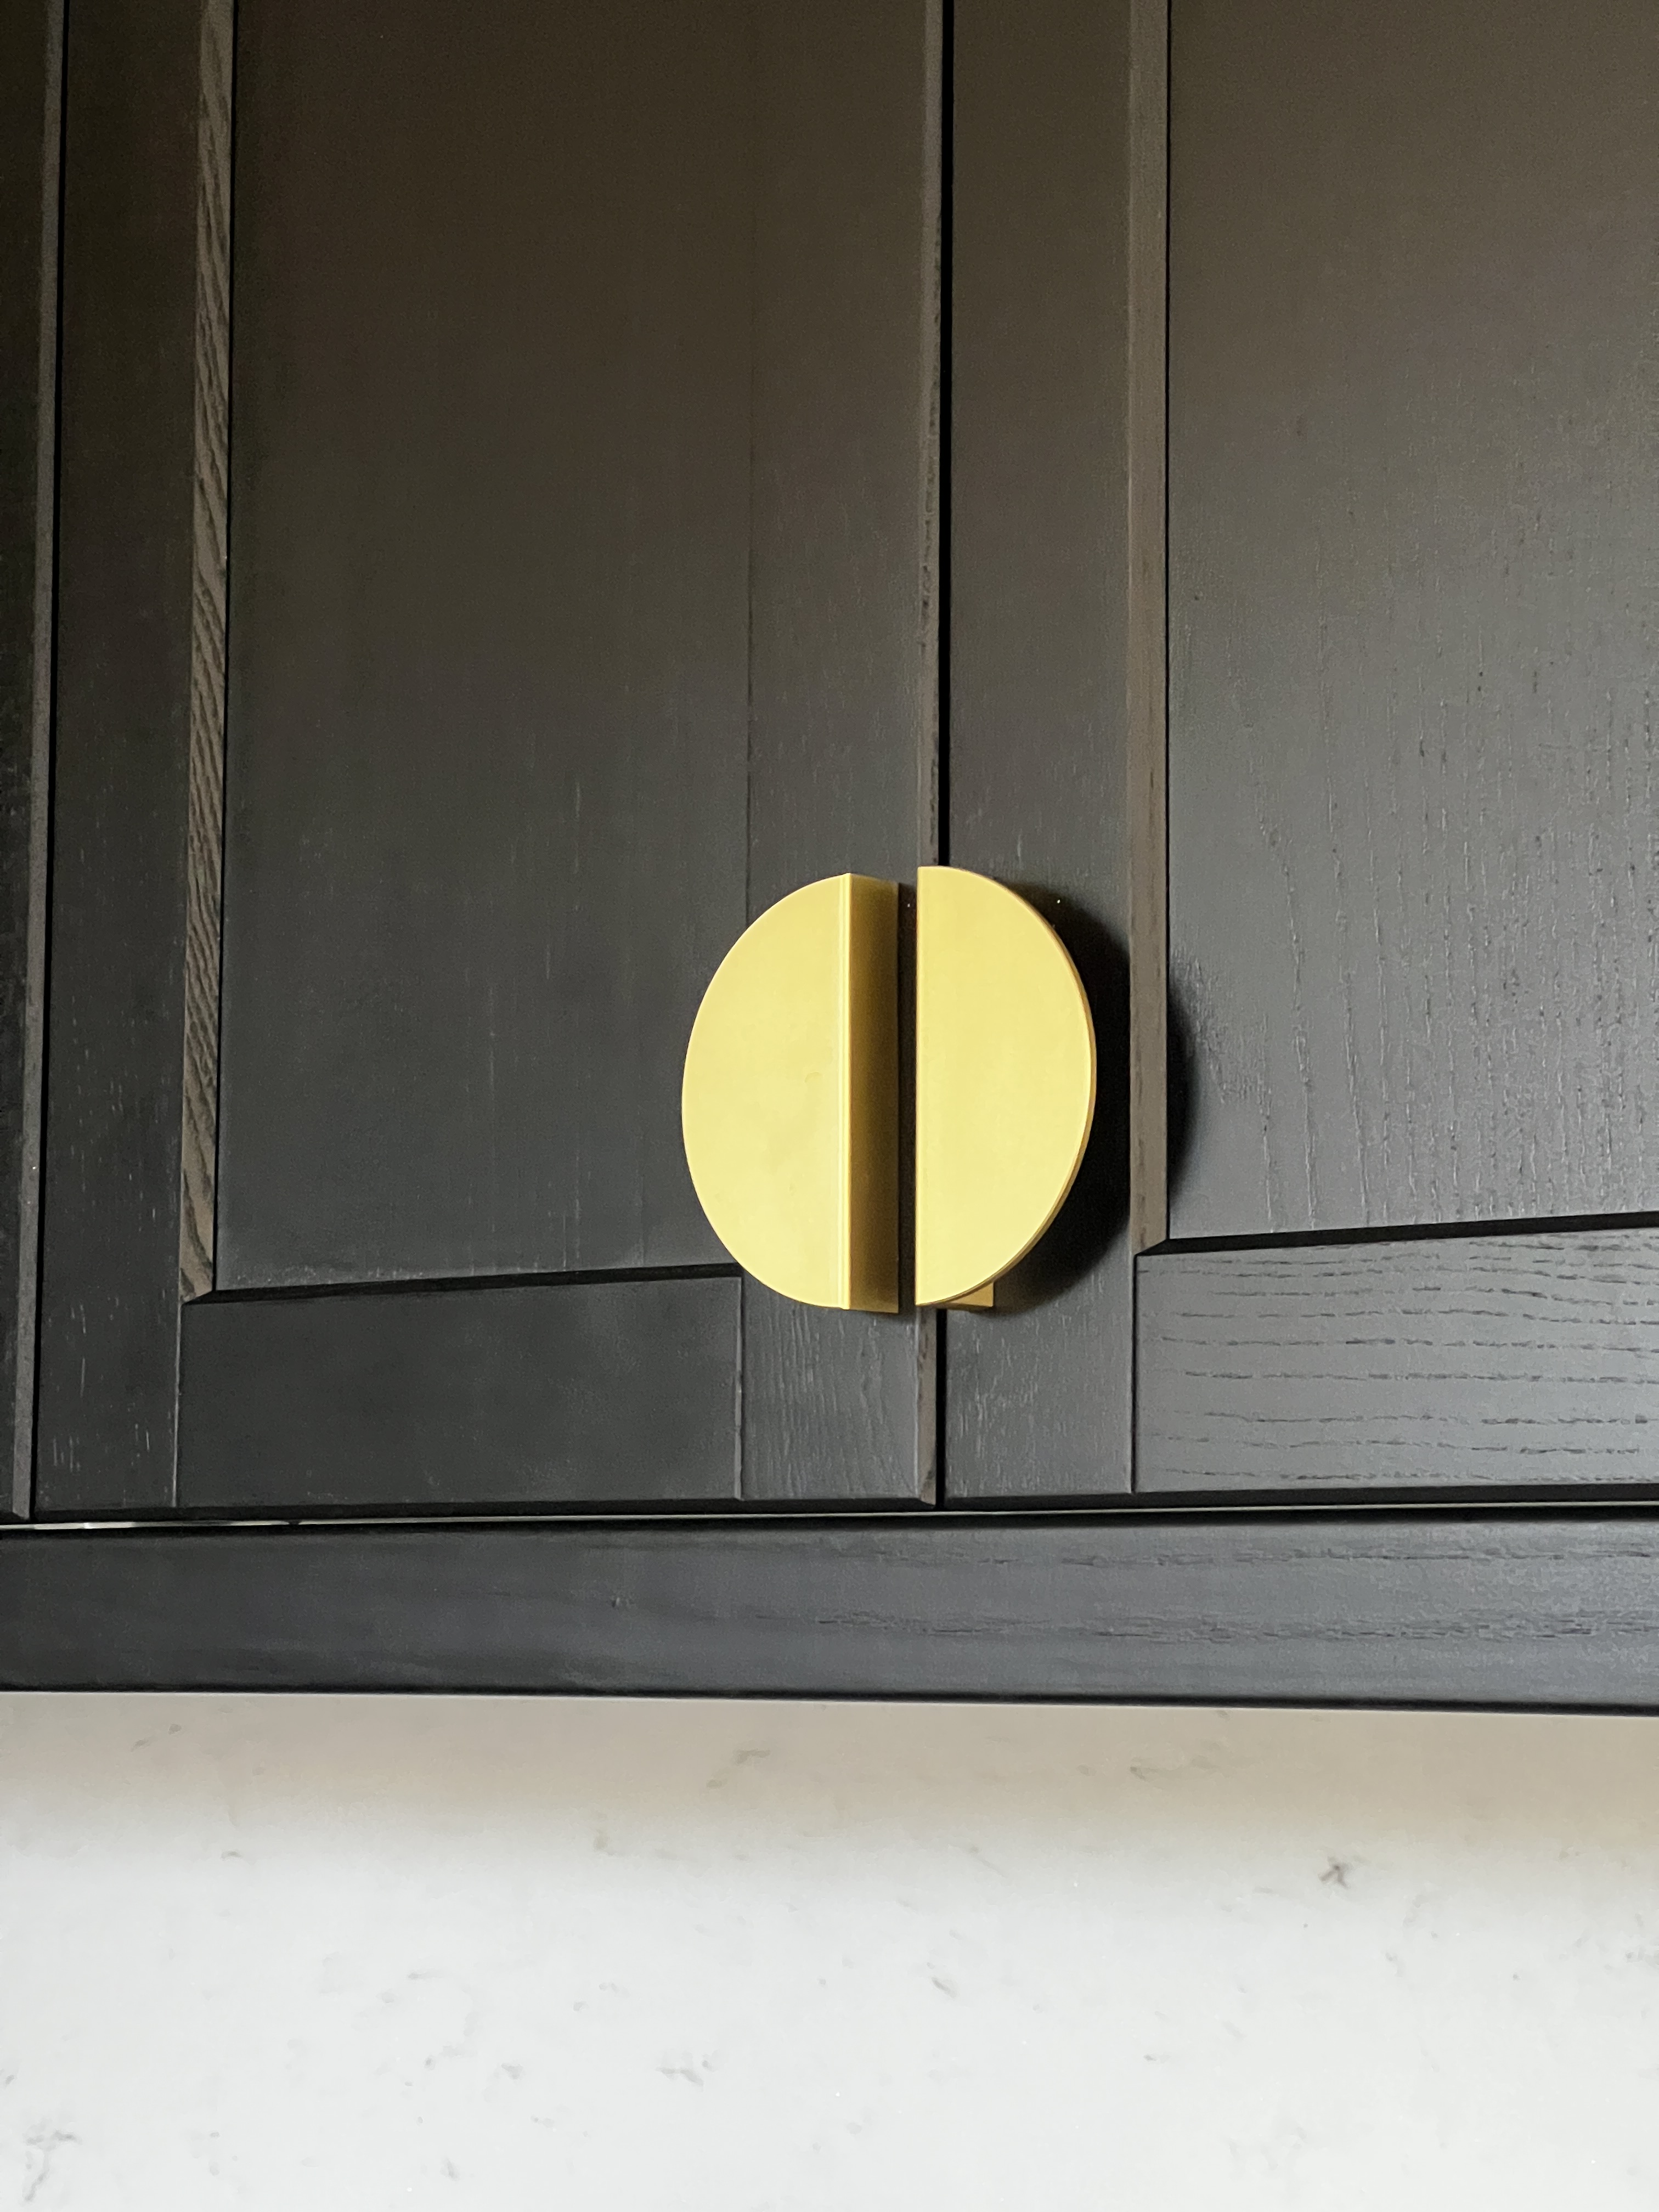
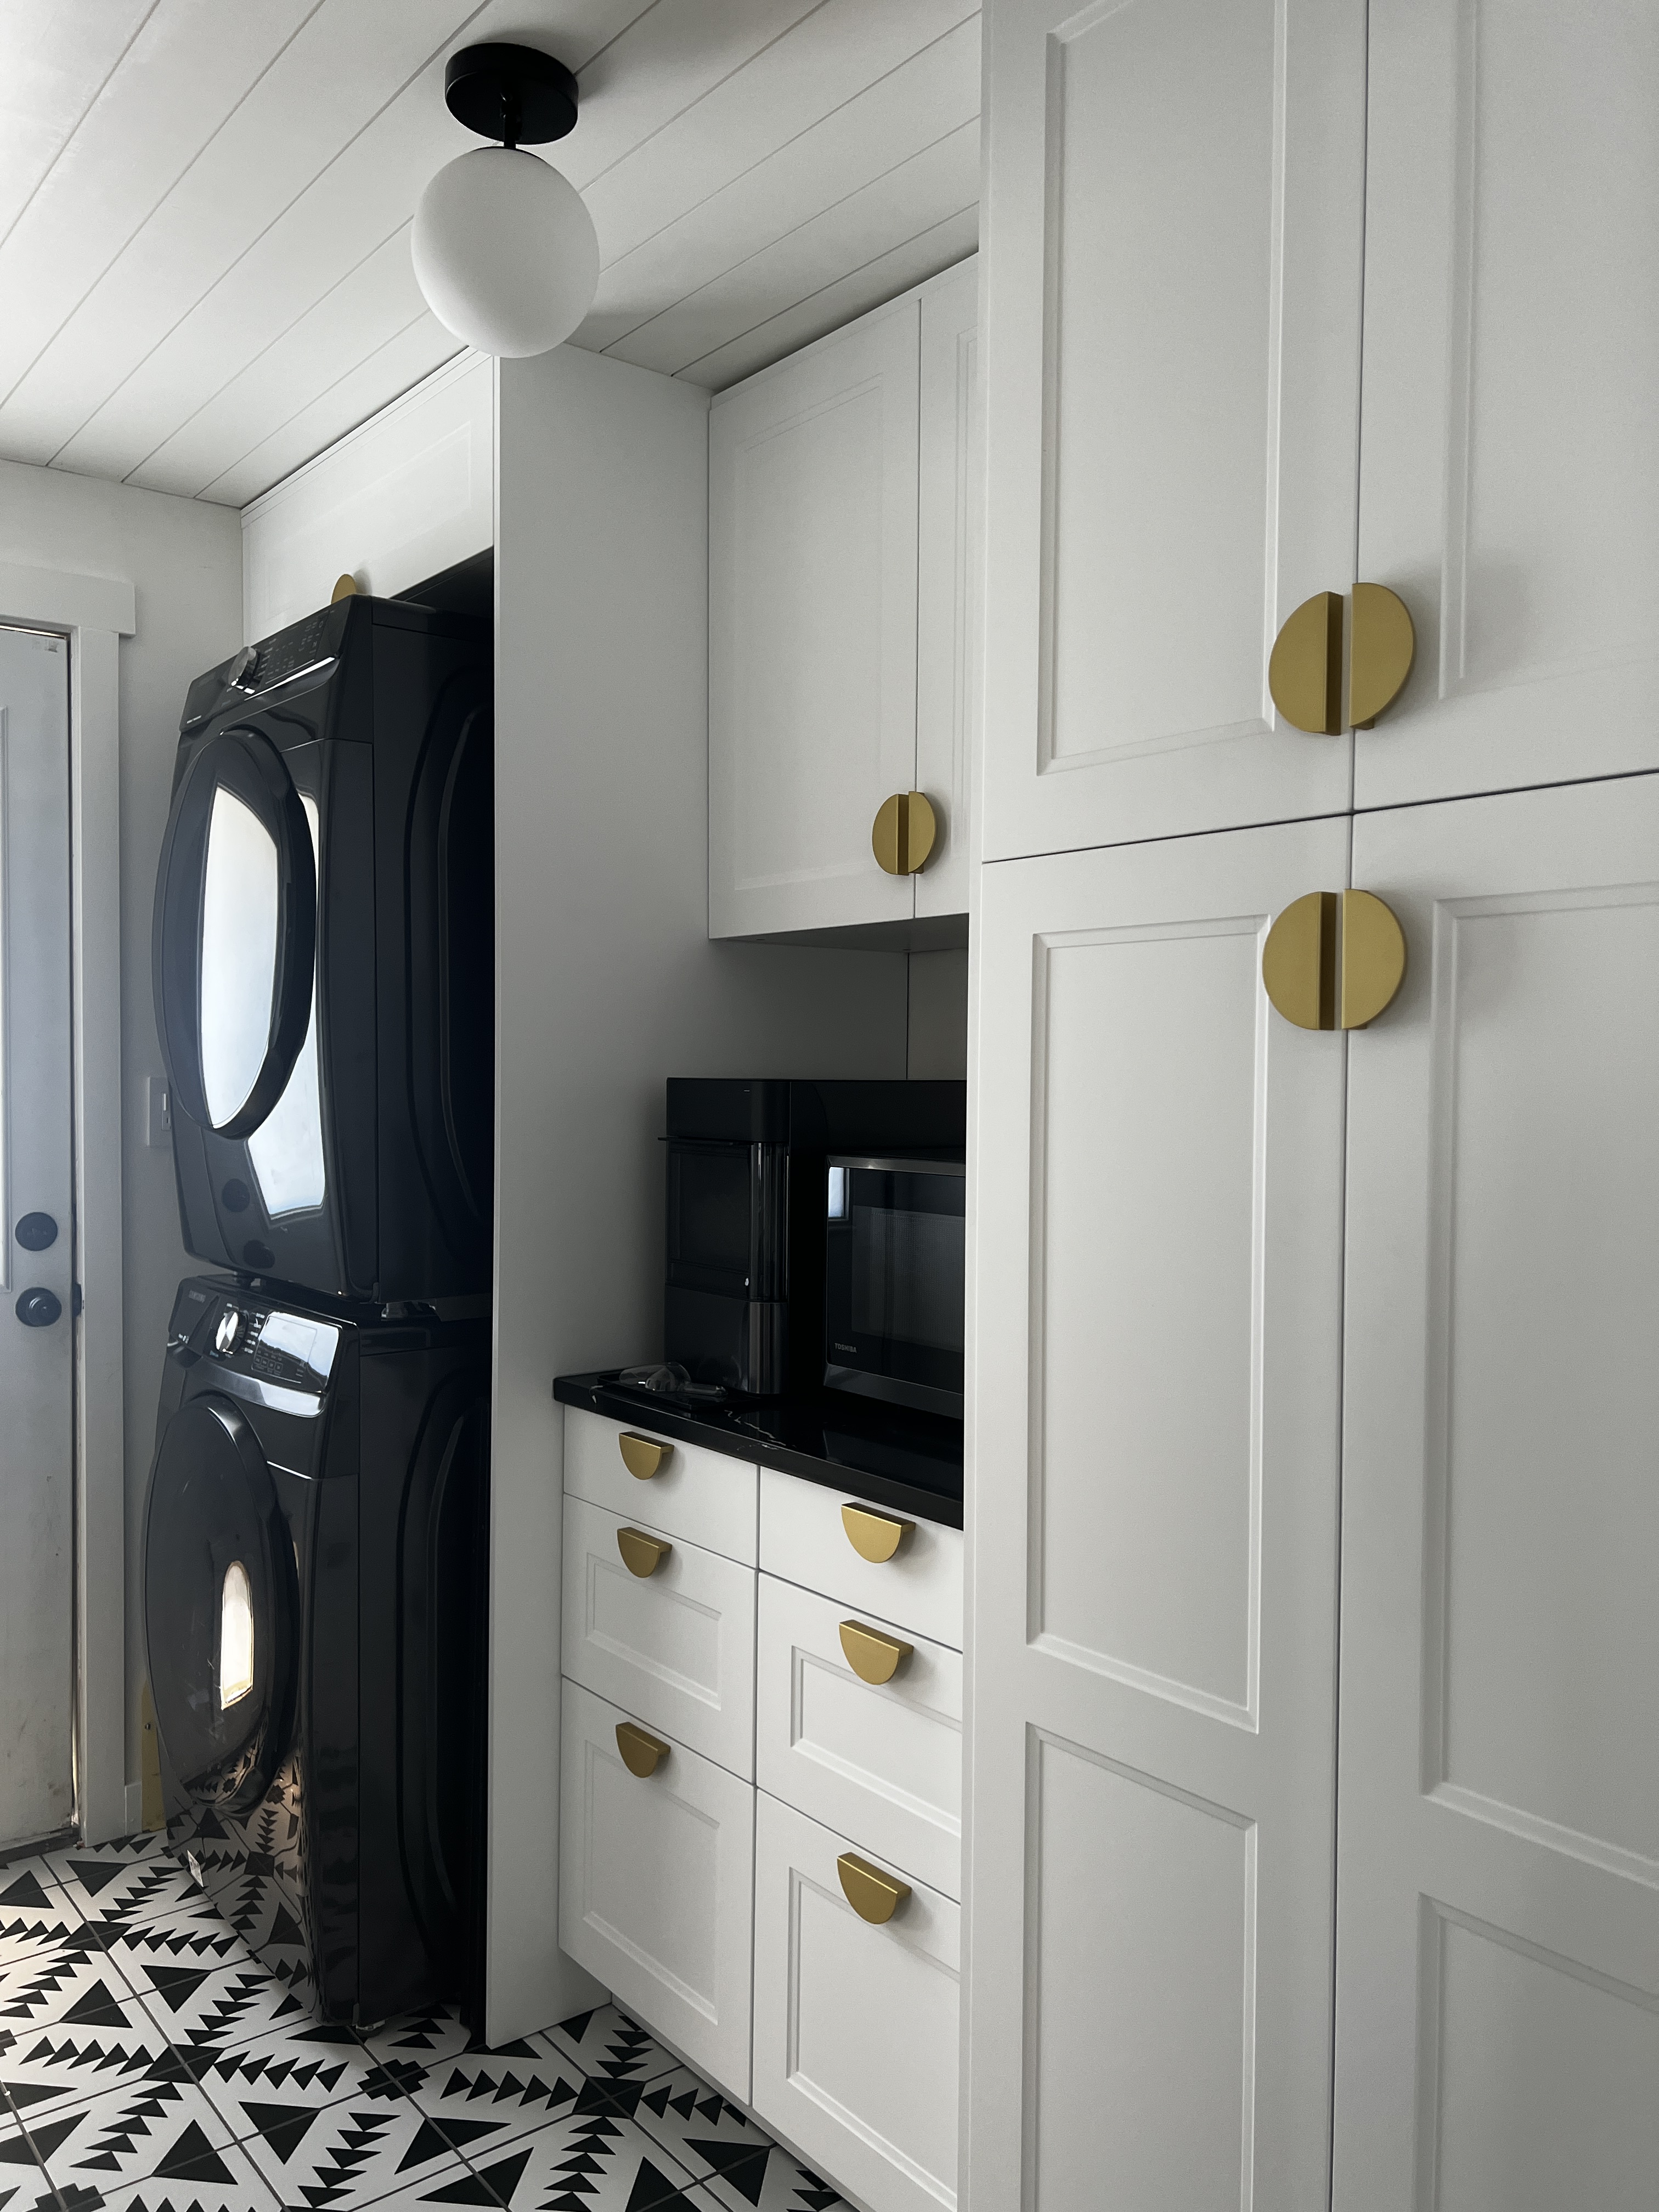
- Cabinet pulls: Brass Half Moon Circle Cabinet Pulls
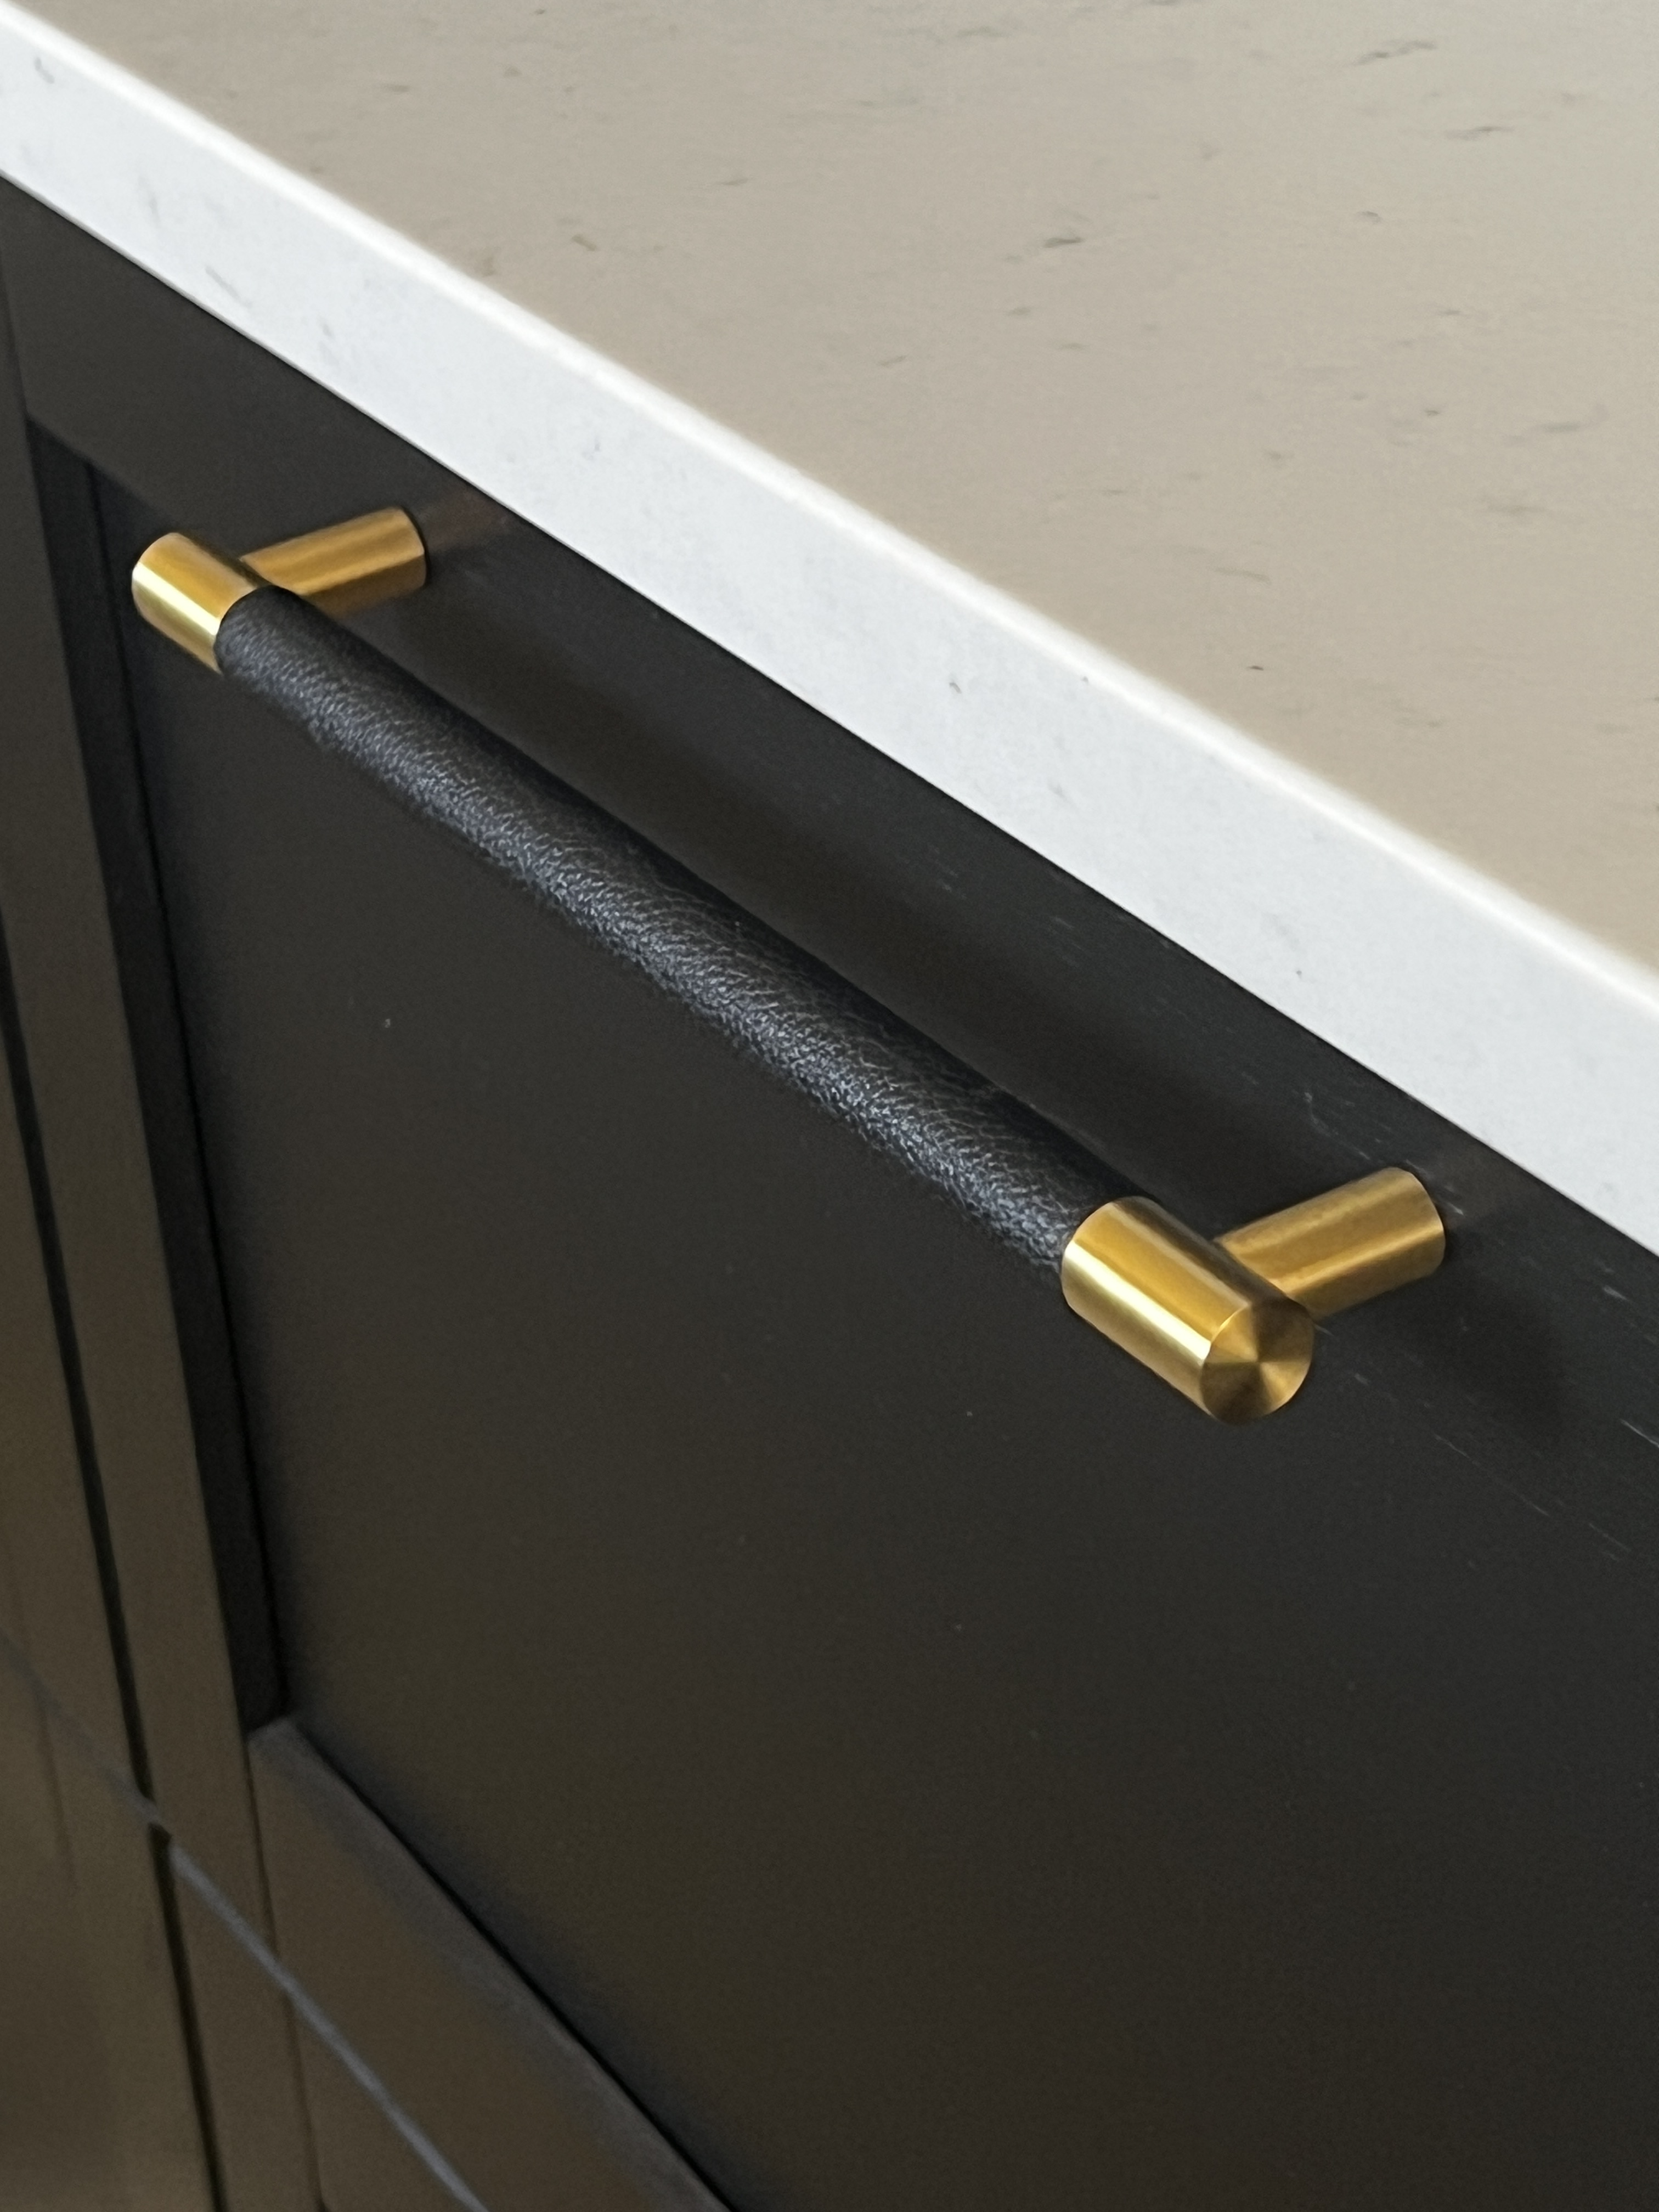
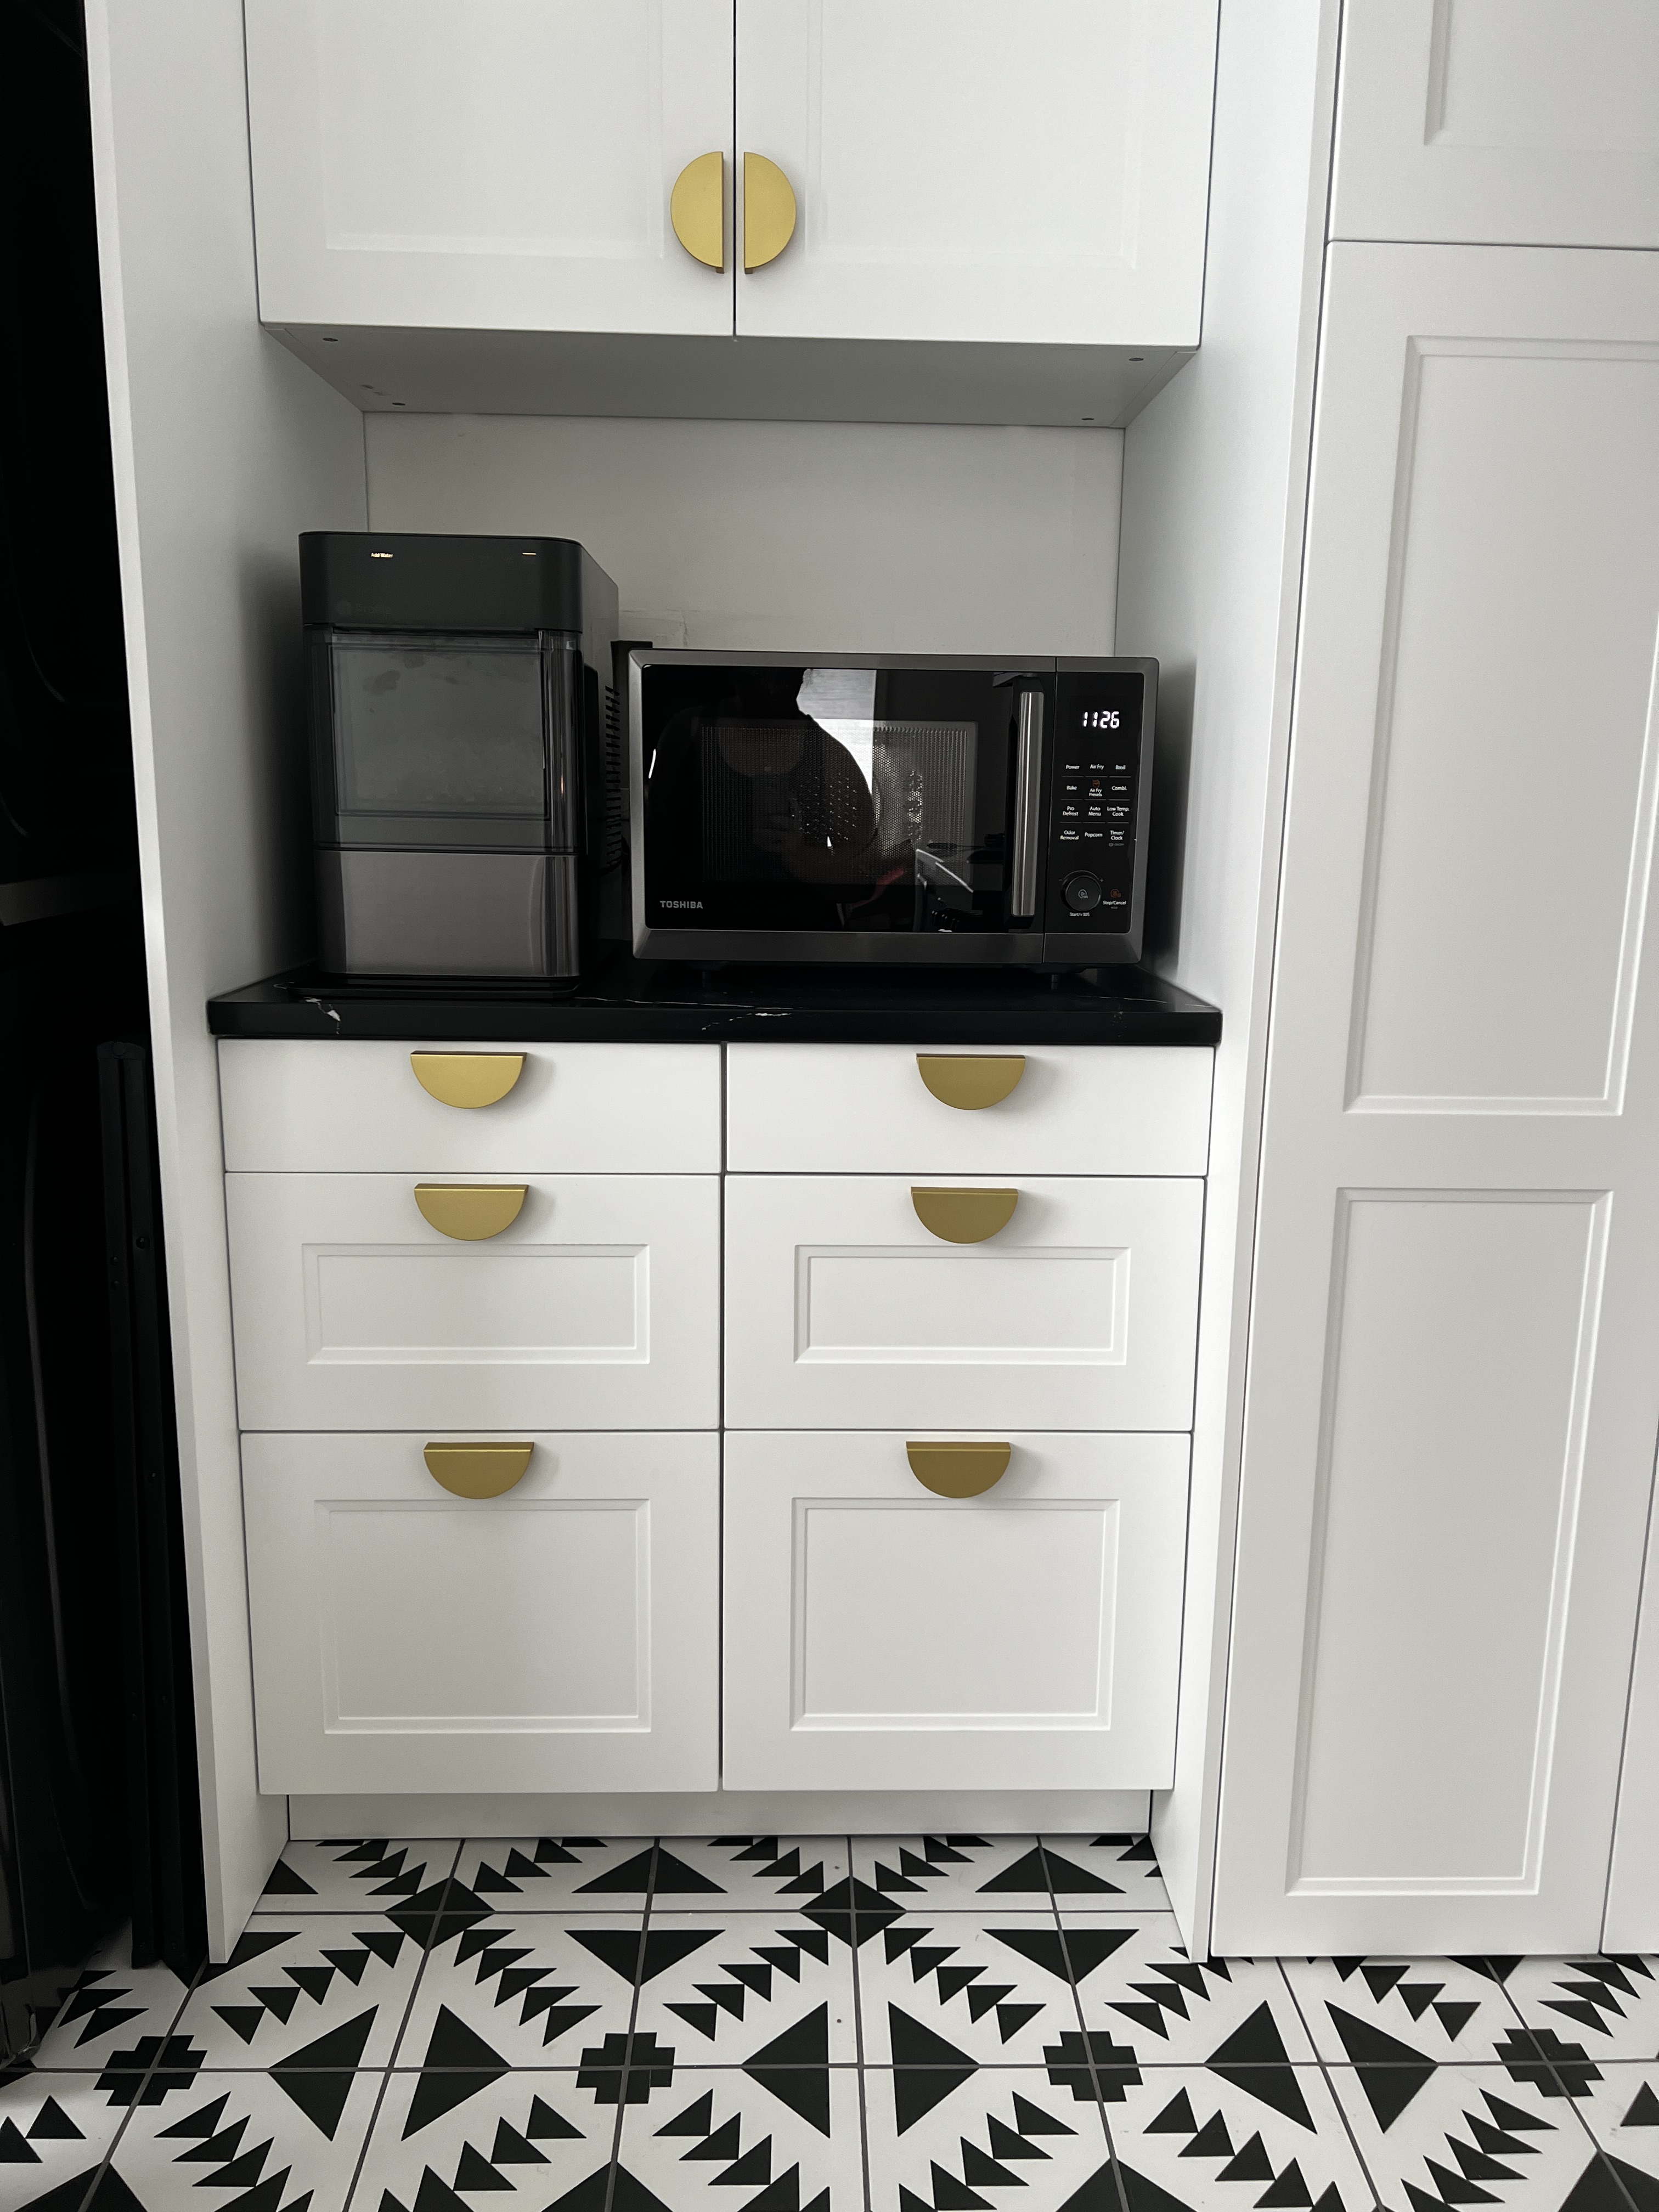
- Lower pulls: Black Upholstered and Brass Bar Cabinet Pulls
- Faucet: Kraus Bolden 2-in-1 Pull-Down Brass and Matte Black Kitchen Faucet
- Table: Modway Lippa Oval Faux Marble Dining Table
- Cushion: Avocado Velvet Custom Cushion from Etsy Seller Pillow Loft Home Decor
Coming up with the design
The main tool I used for design ideation was Pinterest. For a year or two before we talked about remodeling, I spent time on Pinterest browsing kitchens and saving that the images that spoke to me. As we got closer to finalizing the design and picking finishes for the kitchen, we looked through my Pinterest board and the images my husband had saved. Lucky, we have similar aesthetic preferences and it was very much a collaborative process between the two of us. As we looked through our saved images, we were able to identify trends and key details to come up with our design wishlist.
Design wishlist
- Backsplash and countertop in the same material for a streamlined look
- Geometric tile floors (or other graphic/statement flooring)
- Updated lighting
- Black cabinets
- Gold hardware
- Symmetry
Budget and timeline
Our initial budget was around $30k. After the remodeling was done, we spent about $45k.
Due to unplanned add-ons like radiant heating and new drywall, we had to increase our budget. We paid cash (or put on credit cards) for things like the cabinet install, countertops, cushion, and dining table. We opened an IKEA credit card with 0% interest for the cabinets and took advantage of a Lowe’s credit card holder sale for the ZLINE stove. We tried to DIY as much as we could, but wanted it to look like a profession job so we primarily hired pros to do the install work.
Timeline from demolition to using it like a kitchen again: about 9 weeks (!!!)
Thanks to my husband’s incredible project management skills, construction acumen, and diligent use of spreadsheets, the renovation took LESS TIME than we had allocated. Pro-tip: Make sure you have ALL of your materials before you begin demolition.
How I used design thinking to design my kitchen
Design thinking focuses on humans first, seeking to understand the users needs and come up with effective solutions to meet those needs. It’s a solution-based approach to problem-solving, which is exactly what I need when designing my kitchen.
Also, I would like to shout out my lovely mom, a lifelong architect, for instilling this knowledge (and much more) in me from a very early age. Thanks for all your help, mom.
Design thinking involves a strategic approach to ideation, planning, and creation that emphasizes the human experience as the focal point for action. It’s about looking forward to the future, empathizing with the present and being informed by the shortfalls or success of the past. I wanted a space that was not only visually striking but also practical, user-friendly and reflective of the people that interact with it (me!)
There are five aspects of design thinking: empathize, define, ideate, prototype, test. As I thought about what I wanted the kitchen to look like, I also considered the form and function of the space, which we severely lacked in our old space. It wasn’t enough to just have a beautiful looking kitchen, it needed to function in a way that would improve our lives. Using IKEA’s kitchen planner, I plugged in all of the measurements of our kitchen and began prototyping our design.
This needed to include adding storage and the kitchen work triangle. The areas of a kitchen work triangle is a concept in efficient kitchen layouts that are aesthetically pleasing and functional. The primary tasks in a kitchen are carried out between the stove, the sink, and the refrigerator. These three areas and the lines between them make up the work triangle. The idea is that when these three elements are close to one another, the kitchen will be easy and efficient to use.
Knowing we couldn’t move any walls or plumbing, this gave us very few options to dramatically change the layout of our galley kitchen, but we could still create a work triangle. We were also able to add an additional countertop to the right of the stove to create work space we desperately needed.
With IKEA’s kitchen planner, we were also also able to ideate, prototype, and test the ideal functionality of the space. We tested several different scenarios in our existing kitchen to figure out what would make the most sense for efficiency, walking around our kitchen roleplaying common kitchen routines.
For example, where would our garbage and recycling go? We didn’t want them under the sink but we did want them near the sink. We assumed that we would not have a garbage disposal in the sink, therefore all food scraps would go in the garbage or compost. Based on that assumption, the garbage should be as close to the dining table as possible for clearing the table. Next to the garbage should be the dishwasher, then the sink, then the refrigerator. And so on.
We continued this ideate, prototype, and test various scenarios until we picked our final design. We went with all drawers in the same size for the lower cabinets on the range side of the kitchen, which hold larger items like our plates, bowls, appliances, pots, pans, and so on. This also created symmetry, one of my favorite design principles.


Renovation step-by-step process
Floors were the first to go in. Once the existing cabinets were ripped out and the several layers of linoleum and plywood were taken out, we realized the subfloor wasn’t exactly level and had some rot, therefore needed to be replaced. This wasn’t exactly surprising, given that the house was built in 1956 (old house problems). This also meant that we had an opportunity to add on something we really wanted: radiant heated flooring. Living in Seattle, our house is cold most of the fall, winter, and spring. Radiant heat would cut down on using our old baseboard heaters and feel nice on our toes. This added about $4k to our budget, but it was worth it.
Once the floors were in, there were several areas where the drywall needed to be repaired. We did not anticipate this cost in our original budget, but again, it was worth it to add the $1,400 for skimcoating several areas. We hired a professional to do this, but I suppose you could DIY it if you wanted to. After the drywall repair, Gus and I added shiplap paneling to the ceiling. It was partially for aesthetic purposes, but also to hide the cracks in the ceiling from aforementioned old house problems.
We also decided to design the adjoining room that we’d been using as a laundry and storage space. Adding this space would increase our budget but make our life way better. The water heater had long been an eye sore for me, so this was also on my wishlist to do ASAP. We weren’t sure if we could afford to do cabinets in this space, but it was a financial burden I was willing to take on for my quality of life (aka never looking at the water heater again).
Once our design was locked in, we found a local Seattle IKEA cabinet installer, ROCC Solid Installation, who assembled, installed, and custom-finished our kitchen. While DIYing the install of IKEA cabinets is definitely possible, paying the extra money to have the cabinets completed by a professional really helped. There were certain pieces of trim and angled cuts that we wouldn’t have been able to do. Plus, we paid a little extra and had the installer create a custom built-in bench for extra seating and storage. Totally worth it.
After the floor and cabinets, the countertops and backsplash were installed shortly after. We went with an engineered quartz in a neutral, soft marble-lookalike. Quartz (or “engineered stone”) is a manmade, manufactured product made from quartz particles bonded together with resin, pigments, and other stuff. This means it’s incredibly durable and stain resistant. Though I love the look of natural marble, it just doesn’t work with our lifestyle (aka me, the messy one).
The countertop installers also set the undermount sink. Once that was completed, a plumber came to install the faucet, disposal, and hook up the dishwasher. Then, it was time to use our kitchen!
Now that we’ve been living in our new kitchen for several months, I am SUPER happy with the look and functionality of it. It makes me so happy to sit at the kitchen table and look at how beautiful it is. I am very proud of our design and I had a lot of fun designing it. How do you think we did?

Leave a comment